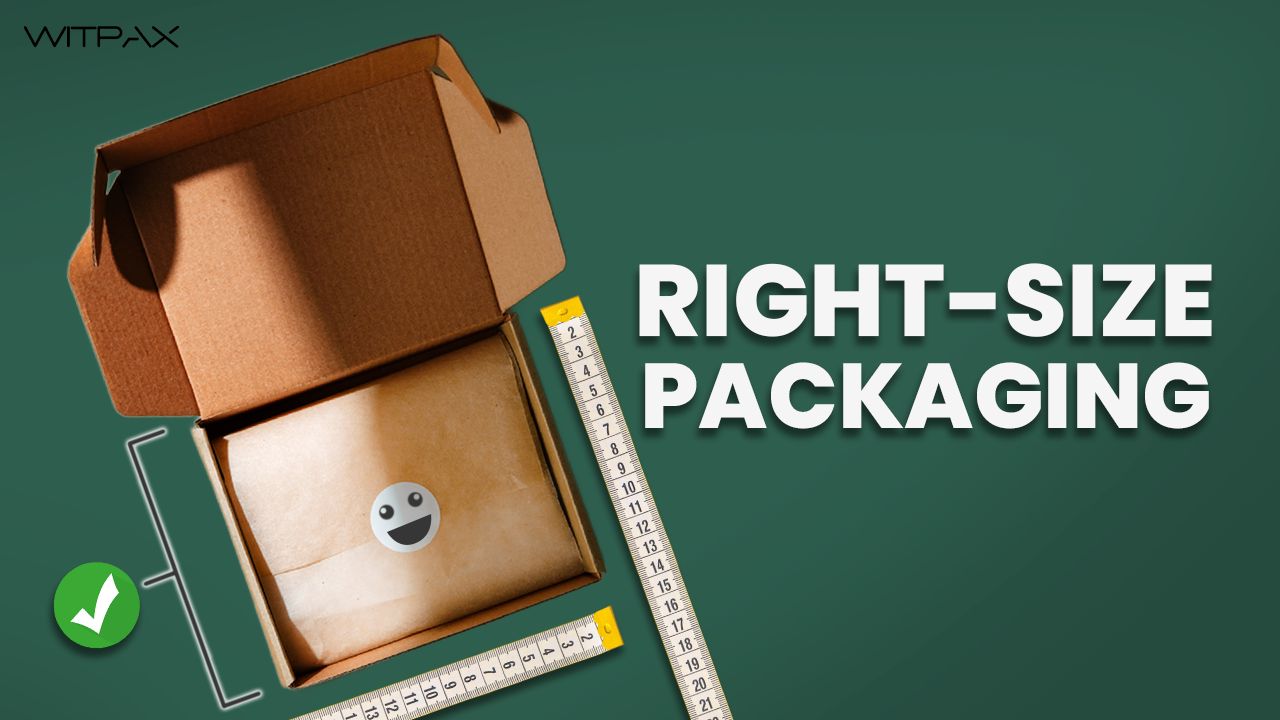
In sectors like logistics, e-commerce, and retail, one box doesn’t suit every product. Each item needs packaging that matches its size and shape during shipping. This guide explains what right-size packaging is , why it matters, and how to customize it to fit your product.
What is the right size packaging?
Right size packaging is the use of packaging that matches the size and shape of the item it holds. It is packaging that is neither too big or too small, but sized to fit the item during shipping.
In logistics, e-commerce, and retail, right-size packaging is beneficial for the following reasons. Right-size packaging protects products during transit and reduces shipping costs. It improves customer experience and ensures compliance with carrier size and weight requirements. Most importantly, right-size packaging supports sustainability by reducing waste and saving resources.
Packaging designers and manufacturers should work together when creating right-size packaging. This is to ensure that the packaging protects the products, reduces costs, and supports environmental goals.
Why Brands Use Right-Size Packaging
Brands use right-size packaging because it saves costs and offers product protection. It also improves customer experience and supports sustainability .
- Cost savings. Right-size packaging uses precise dimensions to fit the product. This first reduces the amount of materials needed. Second, lowers shipping costs by decreasing weight and volume. Right size packaging also saves storage spaces in warehouses.
- Improved sustainability. Right-size packaging cuts excess materials like oversized boxes, and fillers, reducing waste. It also conserves natural resources, such as trees for cardboards and fossil fuels for plastics. Right-size packaging optimizes transport efficiency and reduces carbon emissions.
- Better product protection: Right-sized packaging fits the product closely. This reduces movement inside the box and impact during transit.
- Enhanced customer experience. A right-sized packaging shows professionalism and makes unboxing convenient. The packaging is easier to open and dispose of, giving customers a smooth experience.
- Compliance. Right-sized packaging meets carrier size and weight limits and follows shipping regulations. This prevents extra fees or rejected shipments.
How to Customize Right-Size Packaging
Customizing right-size packaging means designing boxes that fit your products. Right-size packaging customization involves the following 5 steps.
- Accurately Measure Your Product
- Choose the Best Packaging Style for Fragility and Shipping Channel
- Calculate the Right Internal Dimensions (Including Material Thickness)
- Reduce Empty Space and Secure Your Product
- Check Dimensional (DIM) Weight Before Finalizing Your Size
- Create a Family of Smart Sizes for Different SKUs
Step 1: Accurately Measure Your Product
The first step in customizing right-size packaging is measuring your product. You can use tools like rulers, calipers, or 3D scanners to get dimensions. For products with irregular shapes, there are two options available. The first method is to measure the product’s longest, widest, and tallest dimensions. The second method is using 3D scanners or software to capture the full shape of your product.
Step 2: Choose the Best Packaging Style for Fragility and Shipping Channel
After measuring, the next step is picking a style that fits the product and the way it will be shipped. This is where you consider using pads, inserts or double-wall boxes for fragile items.
Also think about the shipping channel. E-commerce packages need to survive individual handling. Retail boxes must look organized on shelves. Bulk shipments need stronger containers for pallets.
Once you determine the shipping channel, pick the materials and protective features. For example, thicker cardboard or extra padding for fragile items.
Step 3: Calculate the Right Internal Dimensions (Don’t Forget Material Thickness!)
Next, calculate the internal dimensions of your box so that your product fits snugly. Remember to include the thickness of the packaging material like cardboard or foam inserts. This is because these materials take up space inside the box. You can measure manually or use tools like CAD software. Knowing exact material thickness ensures you choose a box that holds your product securely without extra void space.
Step 4: Reduce Empty Space and Secure Your Product
Make sure your product fits snugly by reducing empty space. You can use custom inserts, padding, or fillers to keep the item stable inside the box. This prevents movement during shipping, hence reducing the risk of damage. Use dividers or shaped inserts if you are packing many items together or a product with an unusual shape. These dividers and inserts hold each item in place.
Step 5: Check Dimensional (DIM) Weight Before Finalizing Your Size
Dimensional weight is a way shipping companies charge based on the size of package, rather than its actual weight. A large box with a light product cost more to ship than a small box with a heavier product. Here’s how to calculate dimension weight:
DIM weight (lbs) = Length × Width × Height 139
This example can help you understand how DIM works.
A company ships a product that weighs 2 lbs in a box measuring 18″ × 12″ × 8″:
- Box size: 18″ × 12″ × 8″
- Actual weight: 2 lbs
- DIM weight: (18 × 12 × 8) ÷ 139 = 12.4 → rounded to 13 lbs
- Shipping cost is based on 13 lbs, not 2 lbs
After switching to a right-sized box measuring 10″ × 8″ × 4″:
- Box size: 10″ × 8″ × 4″
- Actual weight: 2 lbs
- DIM weight: (10 × 8 × 4) ÷ 139 = 2.3 → rounded to 3 lbs
- Shipping cost is now based on 3 lbs, much closer to the actual weight.
By using a right-sized box, the company reduces shipping costs by up to 77%. This shows how DIM weight affects packaging decisions.
This shows why you have to choose a box that fits snugly. This will ensure your shipping costs very well reflect the actual weight of your package.
Step 6: Create a Family of Smart Sizes for Different SKUs
If you ship many different products, it helps to have a few standard box sizes that fit most of your items. Usually, 3–6 sizes (like Small, Medium, Large, XL) can cover about 80% of your orders. This makes choosing boxes faster, reduces wasted space, and lowers shipping costs.
| Size | Box size (inside, in) | Good for | Notes |
| S | 7 × 5 × 2 | Phone cases, cosmetics | Consider bookfold |
| M | 9 × 7 × 3 | Books, small gadgets | Huge DIM win vs 9×7×6 |
| L | 12 × 9 × 4 | Stacks of clothes, kits | Add die-cut insert |
| XL | 14 × 10 × 6 | Multi-item sets | Stronger cardboard needed |
How to Communicate with Your Packaging Supplier for Right-Size Packaging
It is important to give your supplier all the key details so that they can create the right boxes for your product. The table below is a simple, ready-to-use checklist for sharing all the key details.
| Item | Notes/Examples |
| Internal size | L × W × H (tolerance ±2 mm) |
| Product | Weight & fragility (e.g., “glass jar, 0.8 kg, needs corner protection”) |
| Format | Poly/padded mailer, bookfold, tuck-top carton, mailer box |
| Board/material | E-flute (1.5–2 mm), 32 ECT for domestic; paper mailer 2-ply kraft |
| Insert | None / die-cut kraft / molded pulp / paper wrap |
| 1-color flexo outside; inside print? yes/no | |
| Quantities | Pilot 100–500; production 2k/5k |
| Samples | Plain “white sample” for fit + 1 printed pre-prod |
| Ship method & carrier | Supplier will sanity-check DIM weight |
| Sustainability prefs | FSC Mix, recycled %, plastic-free finishes |
Is “Right-Size” the Same as “Custom” Packaging?
Not always. Right-size packaging means the box fits your product closely, but it doesn’t have to be fully custom. You can right-size using off-the-shelf bookfolds or standard S/M/L cartons. Custom dielines or inserts are usually only needed when you ship a lot of units or the product needs extra protection.
What’s the DIM Divisor – 139 or 166?
Dim divisor is not the same everywhere. The DIM divisor is the number carriers use to turn your package’s volume( in cubic inches) into a ” dimensional weight.”
In the US, many parcel services now use 139 for domestic and international shipments (in inches). But some services, especially older contracts or certain international lanes, still use 166.
Always check your current carrier’s service guide before calculating. Using the wrong divisor can throw off your shipping cost estimates.
Internal vs. external size – what should I specify?
Internal size is the space inside the box for your product and should be your main spec. External size is the outside measurement, which affects shipping and storage. If given only external size, ask for board thickness so you can work out the true internal fit.
Mailer vs. box: which should I choose?
If your product is thin, sturdy, and not fragile, a poly or padded mailer is often cheaper and faster to ship. But if the item is fragile, has many pieces, or is for gifting, a corrugated mailer box with inserts protects and presents it better.